Bead Embroidery is like painting with beads. Bead Embroidery Wall Art is a liberating way to employ colours, techniques, shapes, and stitches. And you end up with something pretty and usable that you can use to brighten your heart and home. I particularly love abstract art so I think that something abstract and bright will pepper my endeavours here.

Included here are a slew of detailed images. I hope they get your own juices flowing to do YOUR thing! After the gallery, I will add some detailed how to steps and construction notes.


The How To of Bead Embroidery Wall Art
Prepare Foundation Pieces
have a number of small square stretched canvas (15x15cm) – so that is going to be the starting determinant for my sizing.I am using felted pieces as foundation pieces. The different colours helps blend the background to the beads to be used. Each of these square pieces are cut smaller than the canvas size itself.
Pencil in the abstract design. These design will be cut according to their outlines before starting the bead embroidery.
FYI: used a colourful drawing as a starting inspiration. Then I digitally changed the colours and filter-deformed the image (using Image Tricks for Mac)

Back-stitch all along the edging (about 1.5mm inside the penciled outline) to strengthen the edges. Cut out the pieces close to the pencilled outlines. Make sure you do not cut into the stitches.
Tip: Back-stitching along the edges is one way of strengthening the edges. Edges can become frayed or stretched as there is a lot of handling while you bead embroider.

Then it is just a matter of doing freeform embroidery. Here I am showing just one piece of work in progress.

Preparing the Canvas
I wanted a black background so each of the stretched artist canvases are painted black. I have used a (acrylic) matt black. I still have to glue on the bead embroidery art pieces. I reckon a glossy surface will not give as good a hold for the glue.I don’t need to say that one has to wait patiently for the paint to dry, do I? So this step can be done anytime you are taking a rest from the bead embroidery.

Attaching Bead Embroidery to Canvas
Once your bead embroidery pieces and your stretched canvas are ready, we can begin attaching them together.Here, for better placement, I have marked each irregularly shaped bead embroidery onto the painted canvas. The outline-markings for each piece is smaller than the actual piece. This prevents the outlining from showing. I am using a white tailor’s pencil to mark the rough placements on the canvas.

Glue beaded embroidery pieces onto canvas. To prevent stretching the canvas while applying pressure to affix glue, I found something that would fit into the well at the back of the canvas. (A Swarovski frosted display block). This I wrapped with greaseproof paper to stop any glue seepage from harming my (Swarovski) block. This step is helpful but not essential. Just make sure that you don’t stretch the canvas with unnecessary pressure when gluing the bead embroidery pieces.


When the beaded pieces have been fully glued, I further embellished the background canvas. Here I used Tulip 3D Metallic Black.

Finishing & Sealing
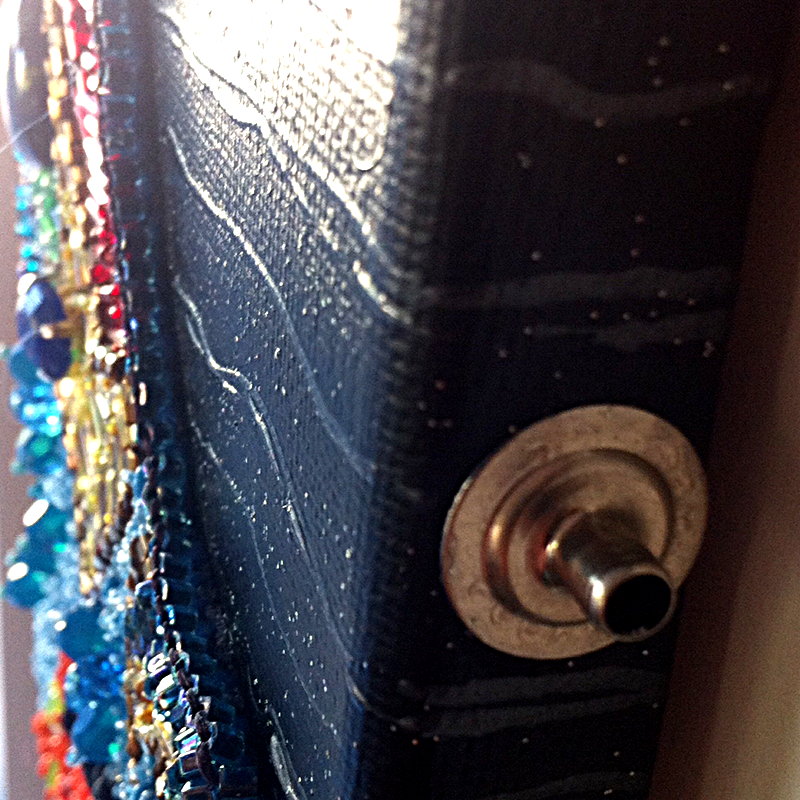
For durability, I sealed the pieces with Dorland’s Wax Medium (undiluted). The was was mixed with silver metallic dust before application. The silver metallic dust is a very fine dust that is used in car paints. The Dorland’s Wax can be applied with fingers or with a brush.
I also glued on hardware pieces onto the sides of the finished (and dried) pieces. And signed.
I am not sure about the signature. I am still at the stage of testing them out. What is your opinion?
I am not sure about the signature. I am still at the stage of testing them out. What is your opinion?